One of the first things I do after getting a new laptop or joining a new company is setting up my terminal .
Until about 4 years ago, I just used the default terminal, but I soon realized I was missing out on a much better experience.
Setting up my terminal with the tools I’m about to share in this article significantly boosted my productivity as a Software Developer.
It allows me to do more by typing less, and I never have to worry about remembering commands I use frequently.
In this article, I'll provide a step-by-step guide on how to supercharge your terminal experience.
Note: These tools work best with macOS/Linux, but you can find alternatives for Windows.
1. Install Homebrew
Homebrew allows you to install / update a wide range of software packages and tools using simple terminal commands like:
brew install package-name
It simplifies the process of installing and managing software packages on macOS and Linux systems.
Run the following command to install it:
/bin/bash -c "$(curl -fsSL https://raw.githubusercontent.com/Homebrew/install/HEAD/install.sh)"
2. Make Zsh the default shell (if not already)
Latest version of macOS uses Zsh (Z shell) as the default shell instead of Bash.
If it’s not the default, you can set it as default using the below command:
chsh -s $(which zsh)
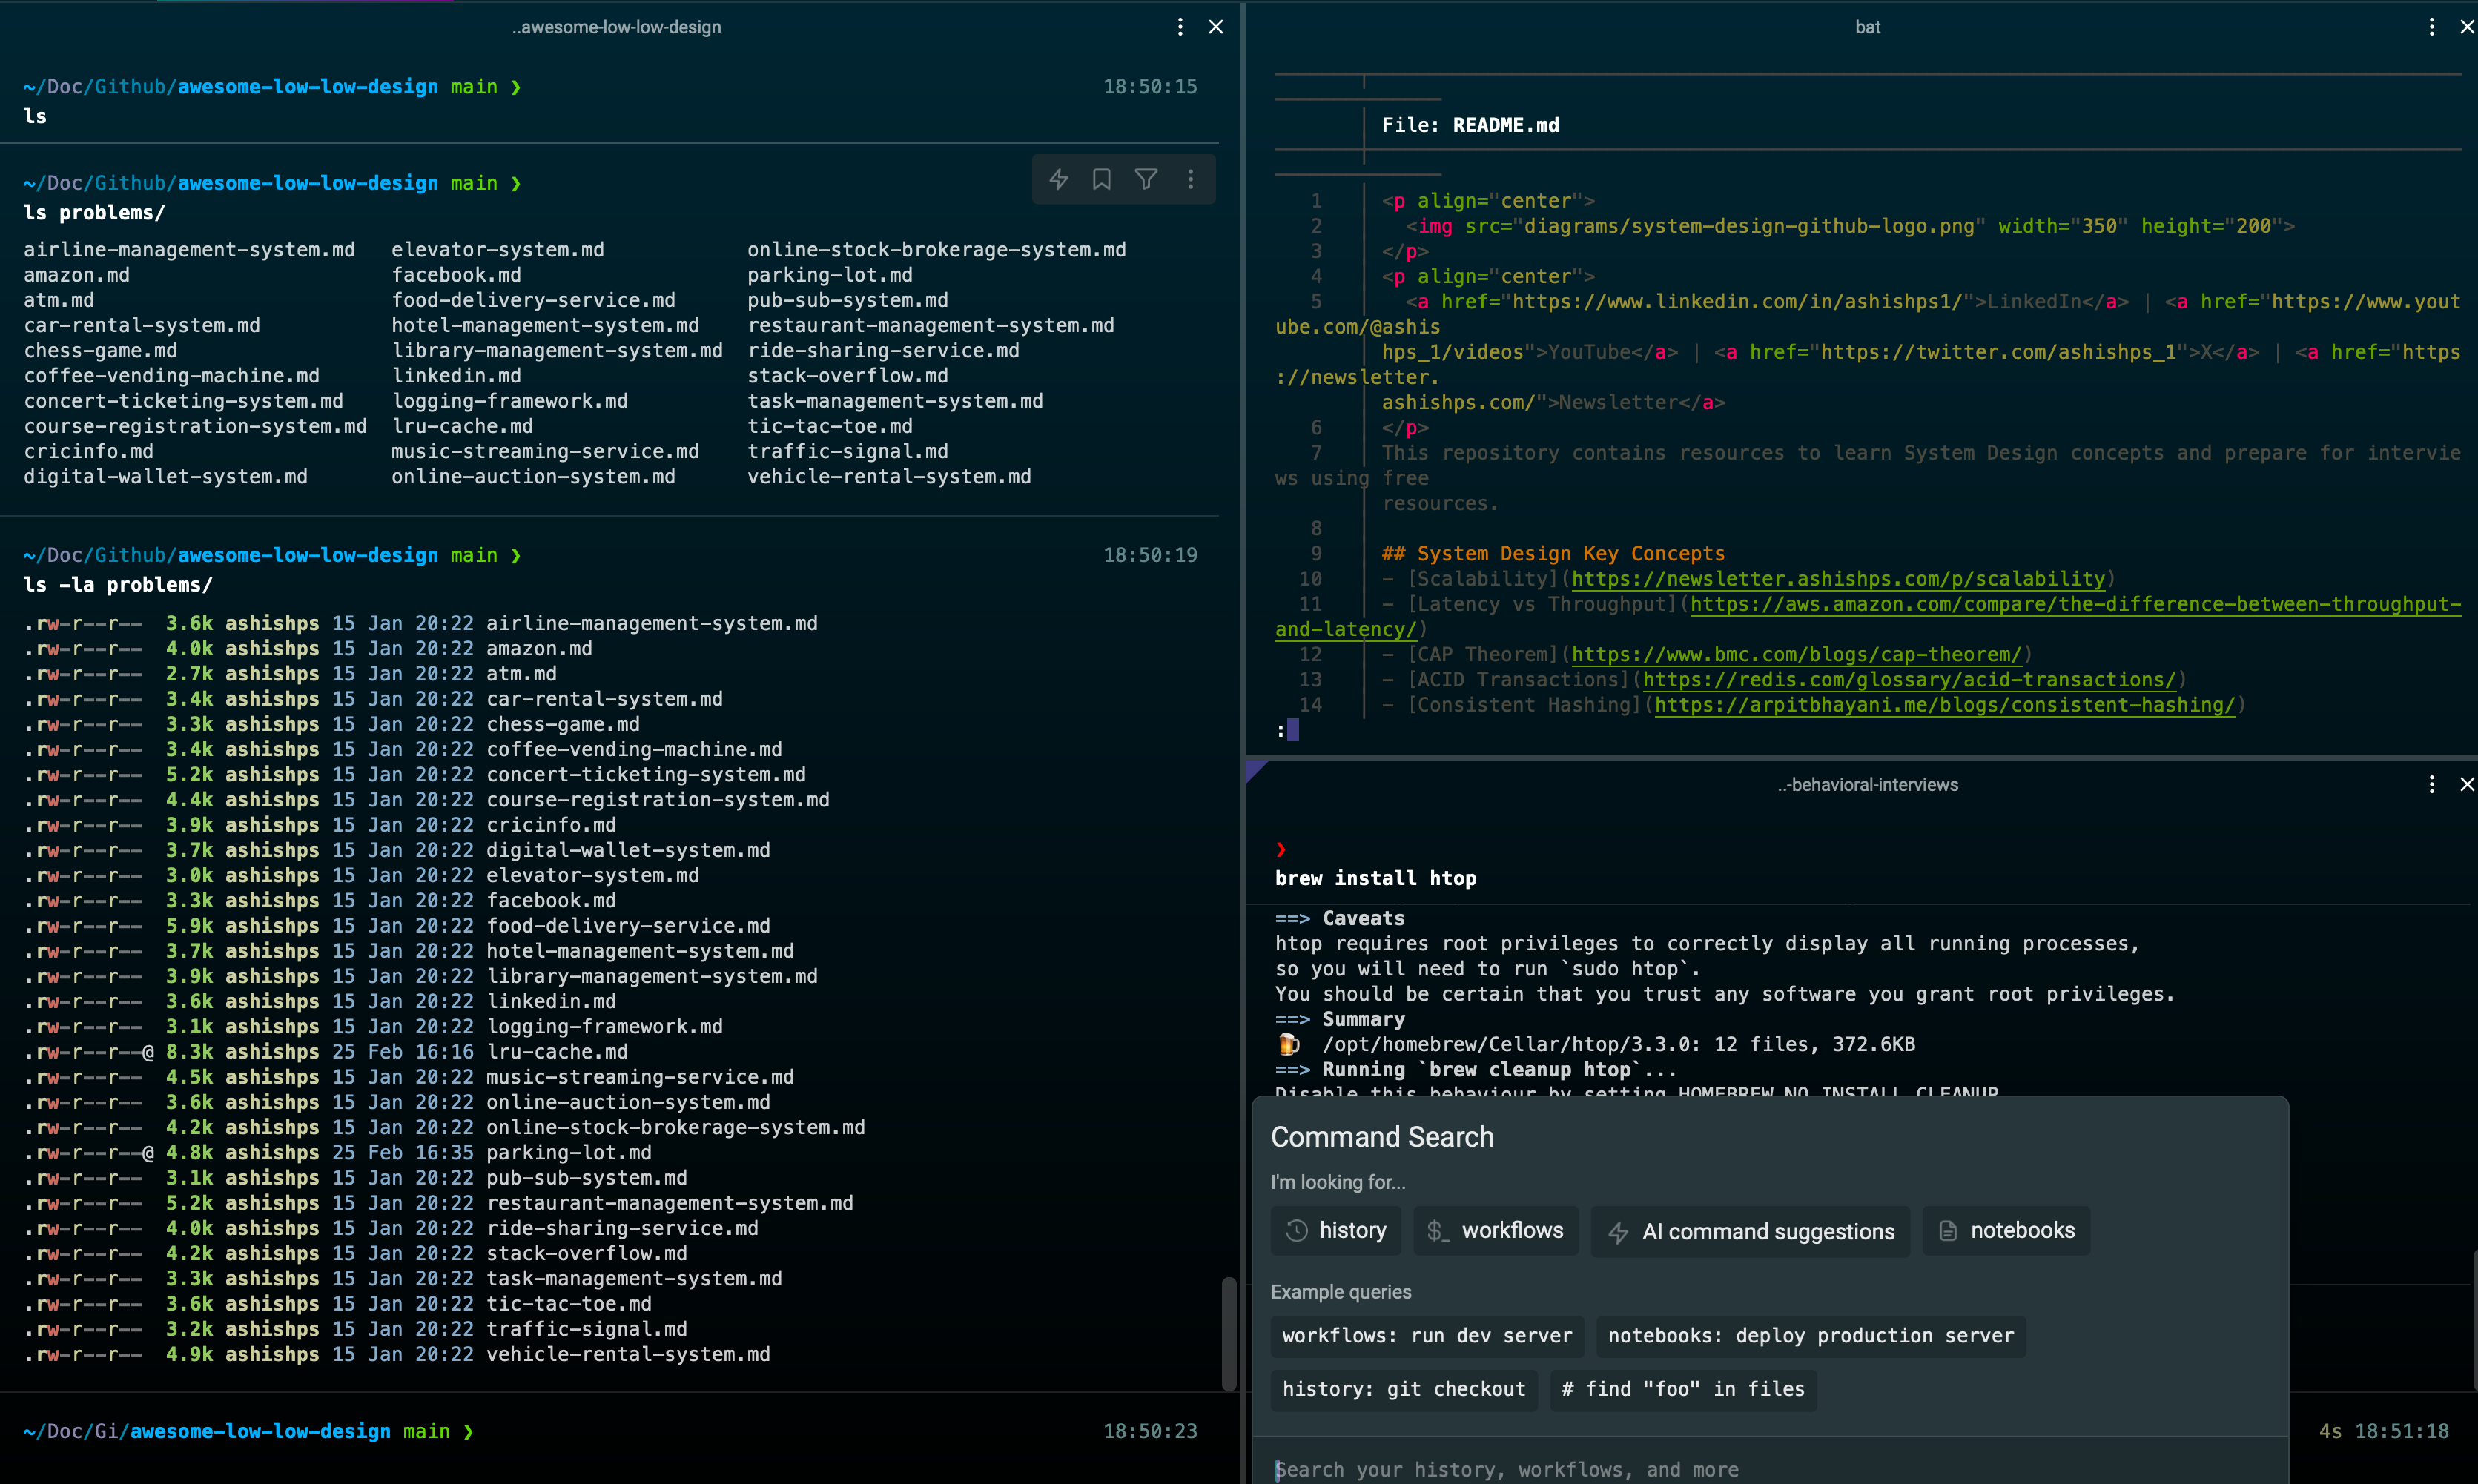
3. Install Warp Terminal
I recently switched from iTerm2 to Warp for my personal laptop due to it’s performance, modern look, minimalistic setup, simplicity, builtin AI and high customizability.
Warp is a free Rust-based terminal designed for productivity and efficiency.
You can install the latest version using my link to receive a unique theme.
Here are some of its key features:
- Blazing fast performance
- AI-powered command search and suggestions
- Split panes and tabs
- Customizable themes and color schemes
- Keyboard shortcuts and commands for efficient navigation and control
To customize Warp Terminal, go to preferences ( Command (⌘) + , ) and customize the appearance, themes, and keyboard shortcuts to your liking.
Disclaimer: I am still using iTerm2 for my company laptop. Warp uses OpenAI for the AI features so please check if you are allowed to use it inside your company.
4. Install Oh My Zsh
Oh My Zsh provides a wide range of features, plugins, and themes to enhance your Zsh shell experience.
Install it using below commands:
sh -c "$(curl -fsSL https://raw.githubusercontent.com/ohmyzsh/ohmyzsh/master/tools/install.sh)"
Follow the on-screen instructions to complete the installation.
5. Configure Zsh
Install a Zsh theme:
While the builtin Warp terminal looks great, you can customize it further by installing external themes.
I started using Powerlevel10k theme 3 years back and never looked back.
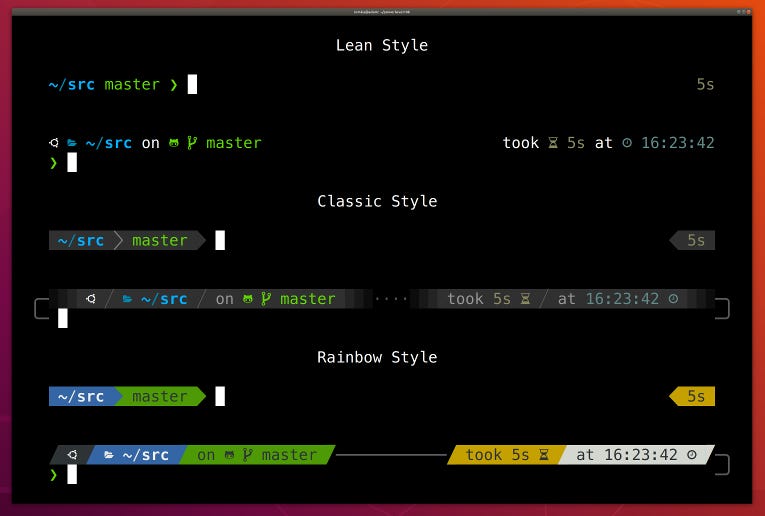 Credit: https://github.com/romkatv/powerlevel10k
To install Powerlevel10k with Warp terminal, follow below instructions:
- Install the recommended fonts.
- Clone the repository assuming you have already installed Oh My Zsh:
git clone --depth=1 https://github.com/romkatv/powerlevel10k.git ${ZSH_CUSTOM:-$HOME/.oh-my-zsh/custom}/themes/powerlevel10k
- Set ZSH_THEME="powerlevel10k/powerlevel10k" in ~/.zshrc.
- Go to: Setting > Appearance > Text in the Warp Terminal and change the font to MesloLGS NF .
- Go to: Setting > Appearance > Prompt in the Warp Terminal and change it to Shell Prompt .
More details in this blog: How to setup powerlevel10k on warp
Other Zsh themes you can consider:
Setup Oh My Zsh Plugins:
- List of Oh My Zsh plugins: https://github.com/ohmyzsh/ohmyzsh/wiki/Plugins
- Open the .zshrc file in a text editor: vim ~/.zshrc
- Find the plugins section and add the desired plugins. Example: plugins=(git web-search docker kubectl)git: Provides helpful aliases and functions for Git.web-search: Allows searching the web directly from the terminal.docker: Provides auto-completion for Docker commands.kubectl: Adds auto-completion for Kubernetes command-line tool (kubectl) commands.
- git: Provides helpful aliases and functions for Git.
- web-search: Allows searching the web directly from the terminal.
- docker: Provides auto-completion for Docker commands.
- kubectl: Adds auto-completion for Kubernetes command-line tool (kubectl) commands.
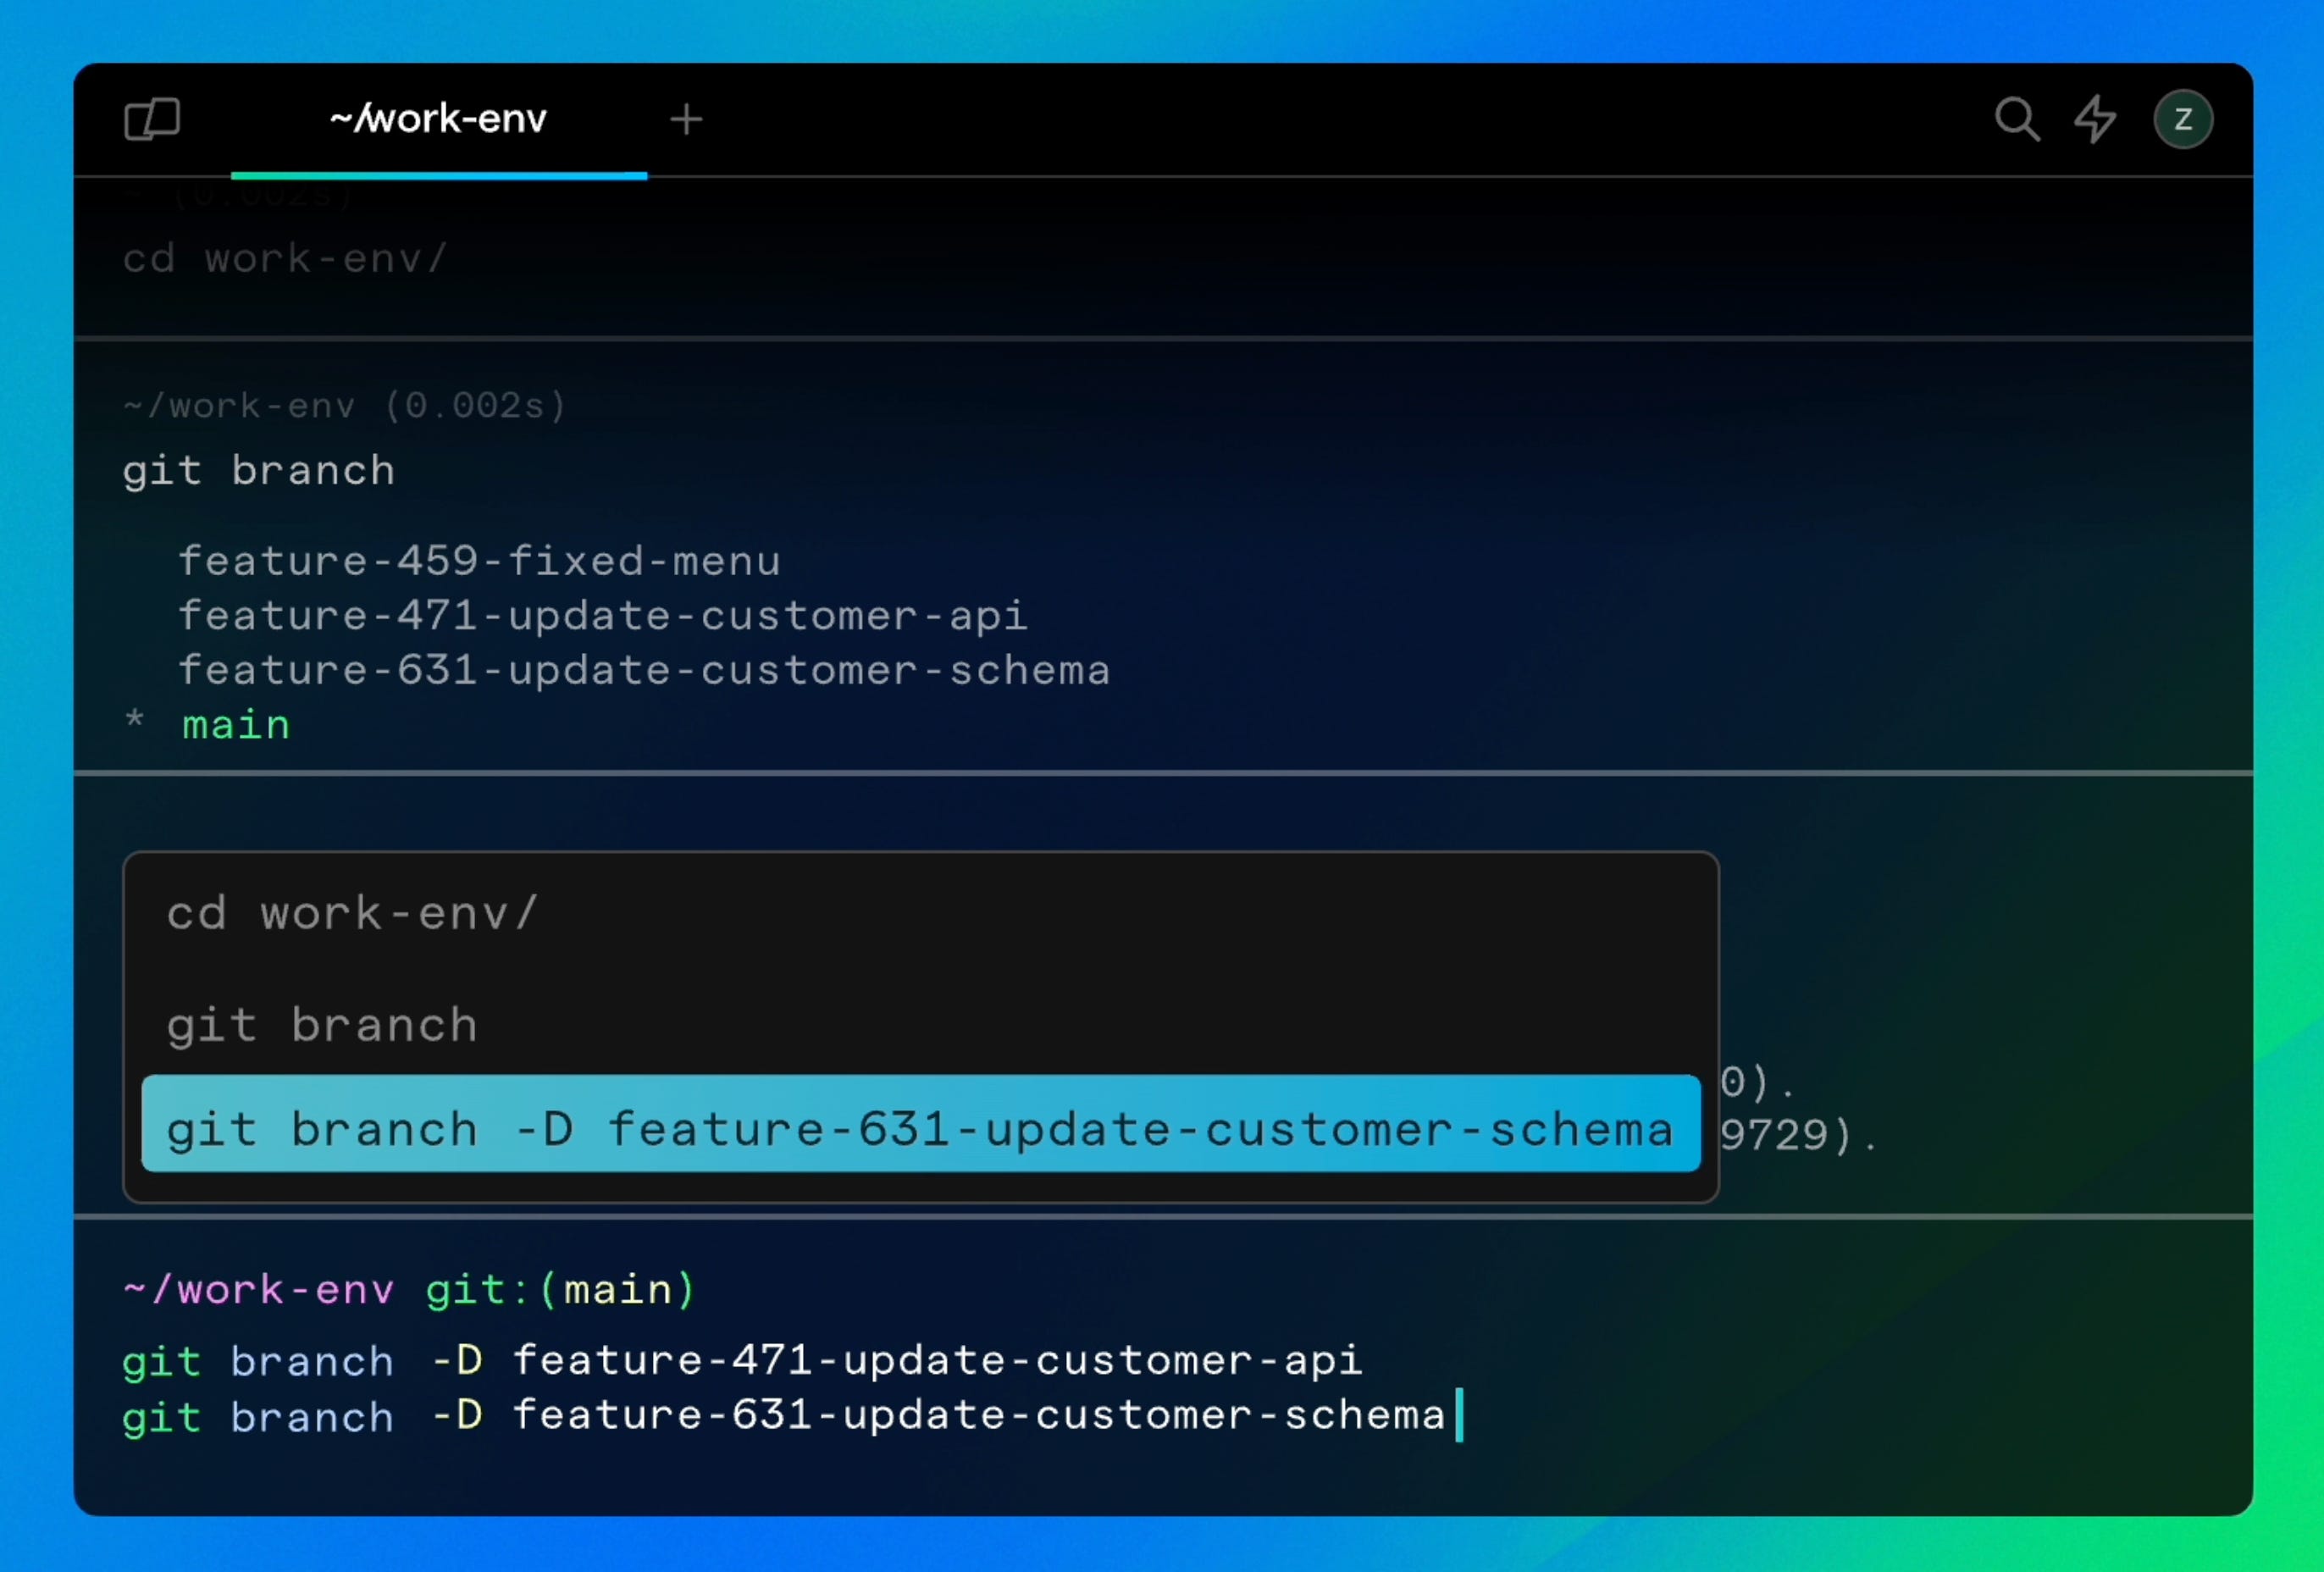
Configure aliases:
- Open the .zshrc file in a text editor: vim ~/.zshrc
- Add custom aliases and functions for frequently used commands.
alias dev='ssh user@dev-server'
6. Install additional productivity tools
bat
bat is a command-line tool designed as an improved alternative to the traditional cat command. It provides syntax highlighting, git integration and other features for viewing files in the terminal.
 https://github.com/sharkdp/bat
Installation: brew install bat
eza
eza is a modern replacement for the traditional ls command in the terminal. It provides a more user-friendly and feature-rich interface for listing files and directories.
Installation: brew install eza
Setup an alias in ~/.zshrc
alias ls="eza"
 https://github.com/eza-community/eza
tree
The tree command is useful for displaying the directory structure of a given path in a hierarchical, tree-like format. It recursively lists the contents of directories and their subdirectories, providing a visual representation of the file system structure.
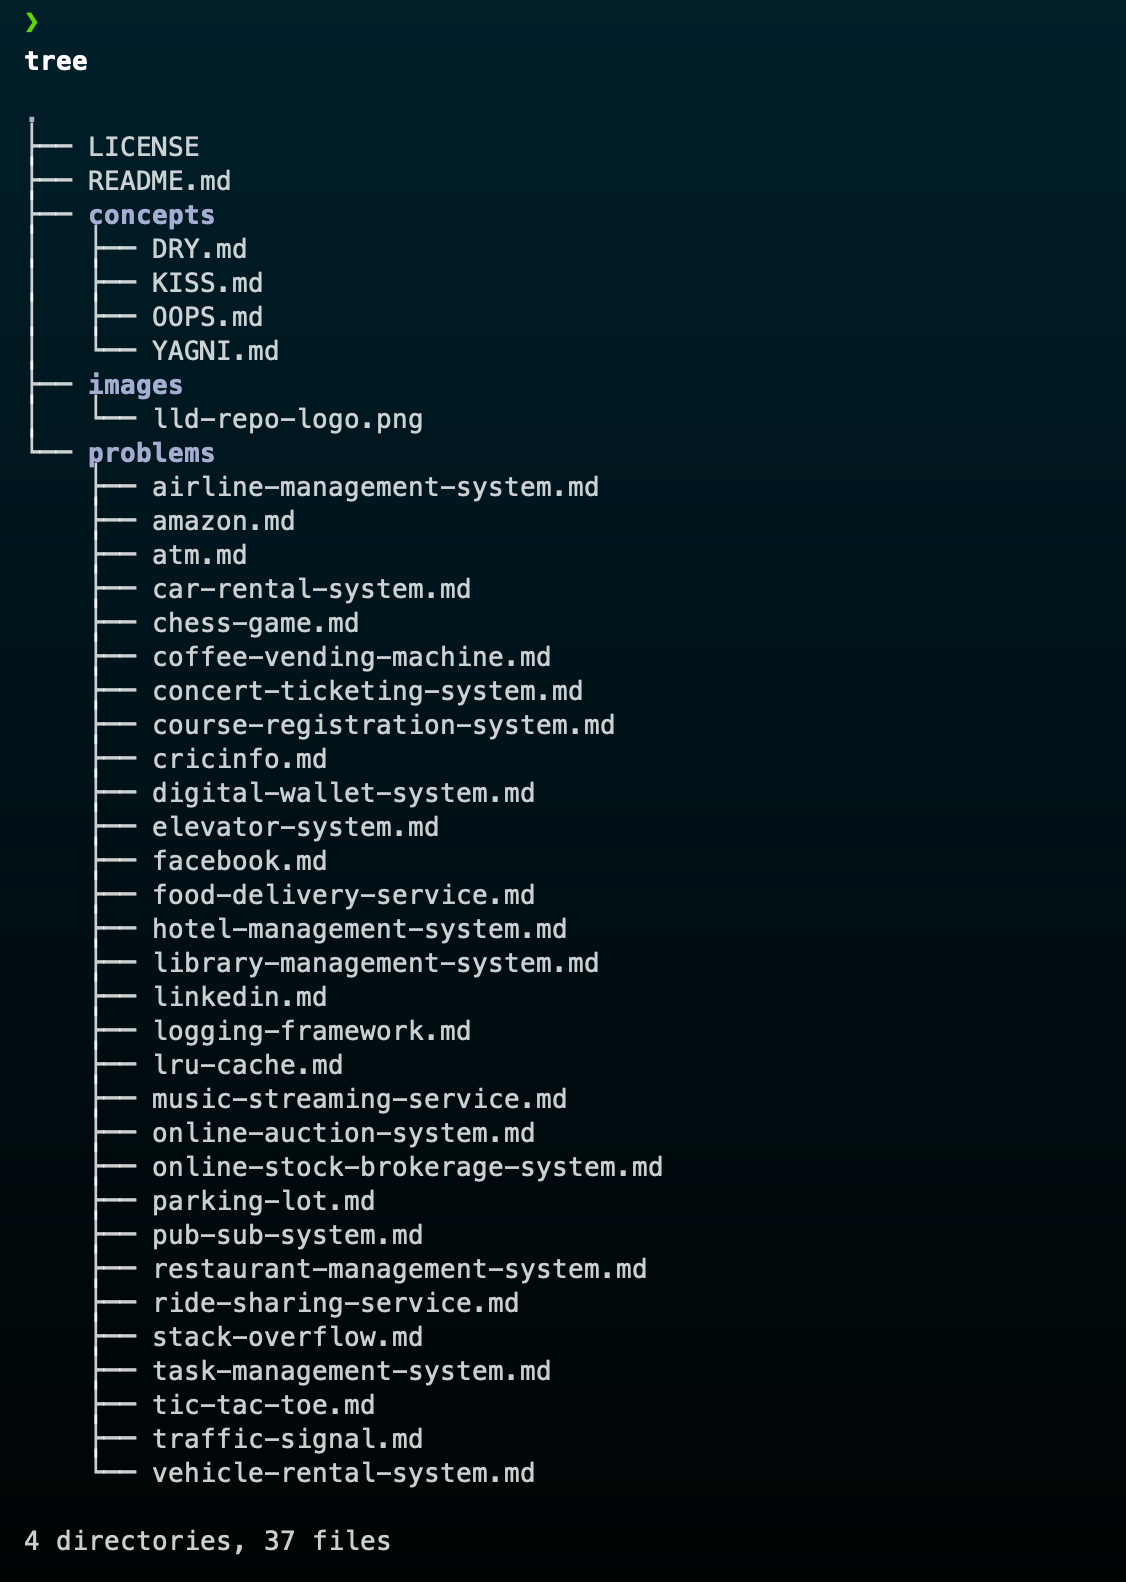
Installation: brew install tree
tldr
tldr ("Too Long; Didn't Read") is a command-line tool that provides quick and practical examples of how to use commands without going through the extensive and sometimes overwhelming traditional man pages.

Installation: brew install tldr
wget
wget is a command-line utility widely used for downloading files and web pages from the internet. It supports various protocols, including HTTP, HTTPS, and FTP.
Example:
wget https://example.com/file.zip
Installation: brew install wget
7. Useful Terminal Shortcuts
Cursor Movement
- Option (⌥) + Left Arrow : Move the cursor one word to the left.
- Option (⌥) + Right Arrow : Move the cursor one word to the right.
- Command (⌘) + Left Arrow : Move the cursor to the beginning of the line.
- Command (⌘) + Right Arrow : Move the cursor to the end of the line.
Text Editing
- Option (⌥) + Delete : Delete the word to the left of the cursor.
- Command (⌘) + Delete : Delete the entire line to the left of the cursor.
- Command (⌘) + K : Clear the Terminal screen
Selections
- Option (⌥) + Shift (⇧) + Left/Right Arrow : Select text one word at a time.
- Command (⌘) + Shift (⇧) + Left/Right Arrow : Select text to the beginning/end of the line.
Clipboard Operations
- Command (⌘) + C : Copy the selected text. When no text is selected, this copies the entire current line.
- Command (⌘) + V : Paste text from the clipboard.
- Command (⌘) + X : Cut the selected text.
Managing Tabs
- Command (⌘) + T : Open a new tab.
- Command (⌘) + W : Close the current tab.
- Command (⌘) + Number : Switch between tabs quickly.
- Command (⌘) + Shift (⇧) + [: Switch to the previous Warp Terminal tab.
- Command (⌘) + Shift (⇧) + ]: Switch to the next Warp Terminal tab.
- Command (⌘) + D : Split pane right.
- Command (⌘) + Shift (⇧) + D : Split pane down.
Searching
- Command (⌘) + F : Search within the terminal output.
- Control (⌃) + R : Search the history backward for a command that matches the text you've typed.
You can find the full list of keyboard shortcuts in the warp documentation.
References:
- Warp: A New Terminal To Boost Developer Productivity
- You’re Missing Out on a Better Mac Terminal Experience
Thank you so much for reading. If you found it valuable, consider subscribing for more such content every week. If you have any questions or suggestions, please email me your comments or feel free to improve it.